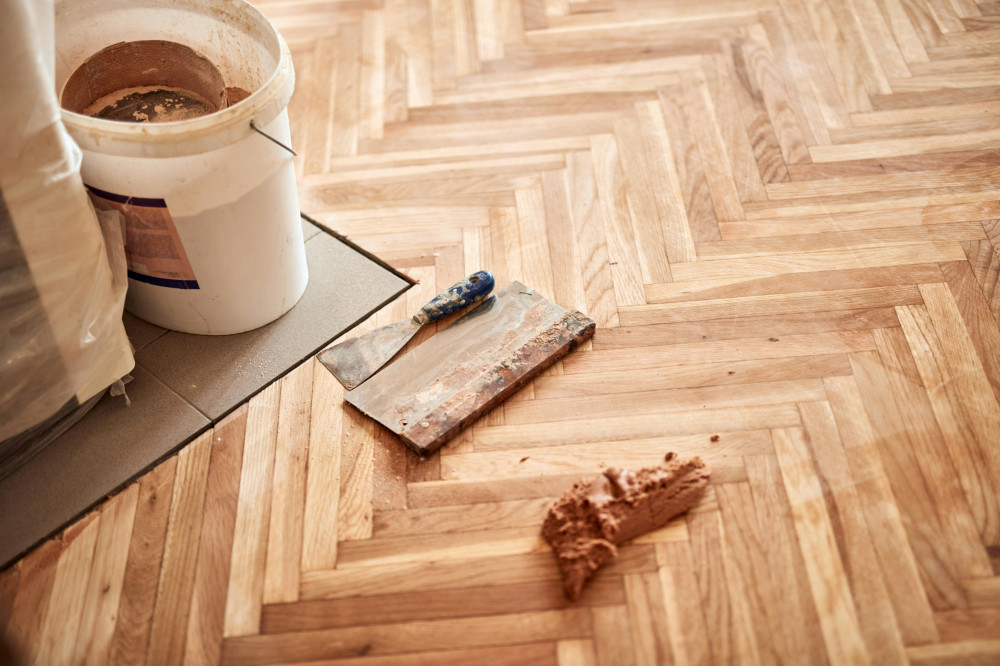
Installing Flooring in Uneven Rooms – How to Achieve a Beautiful Result

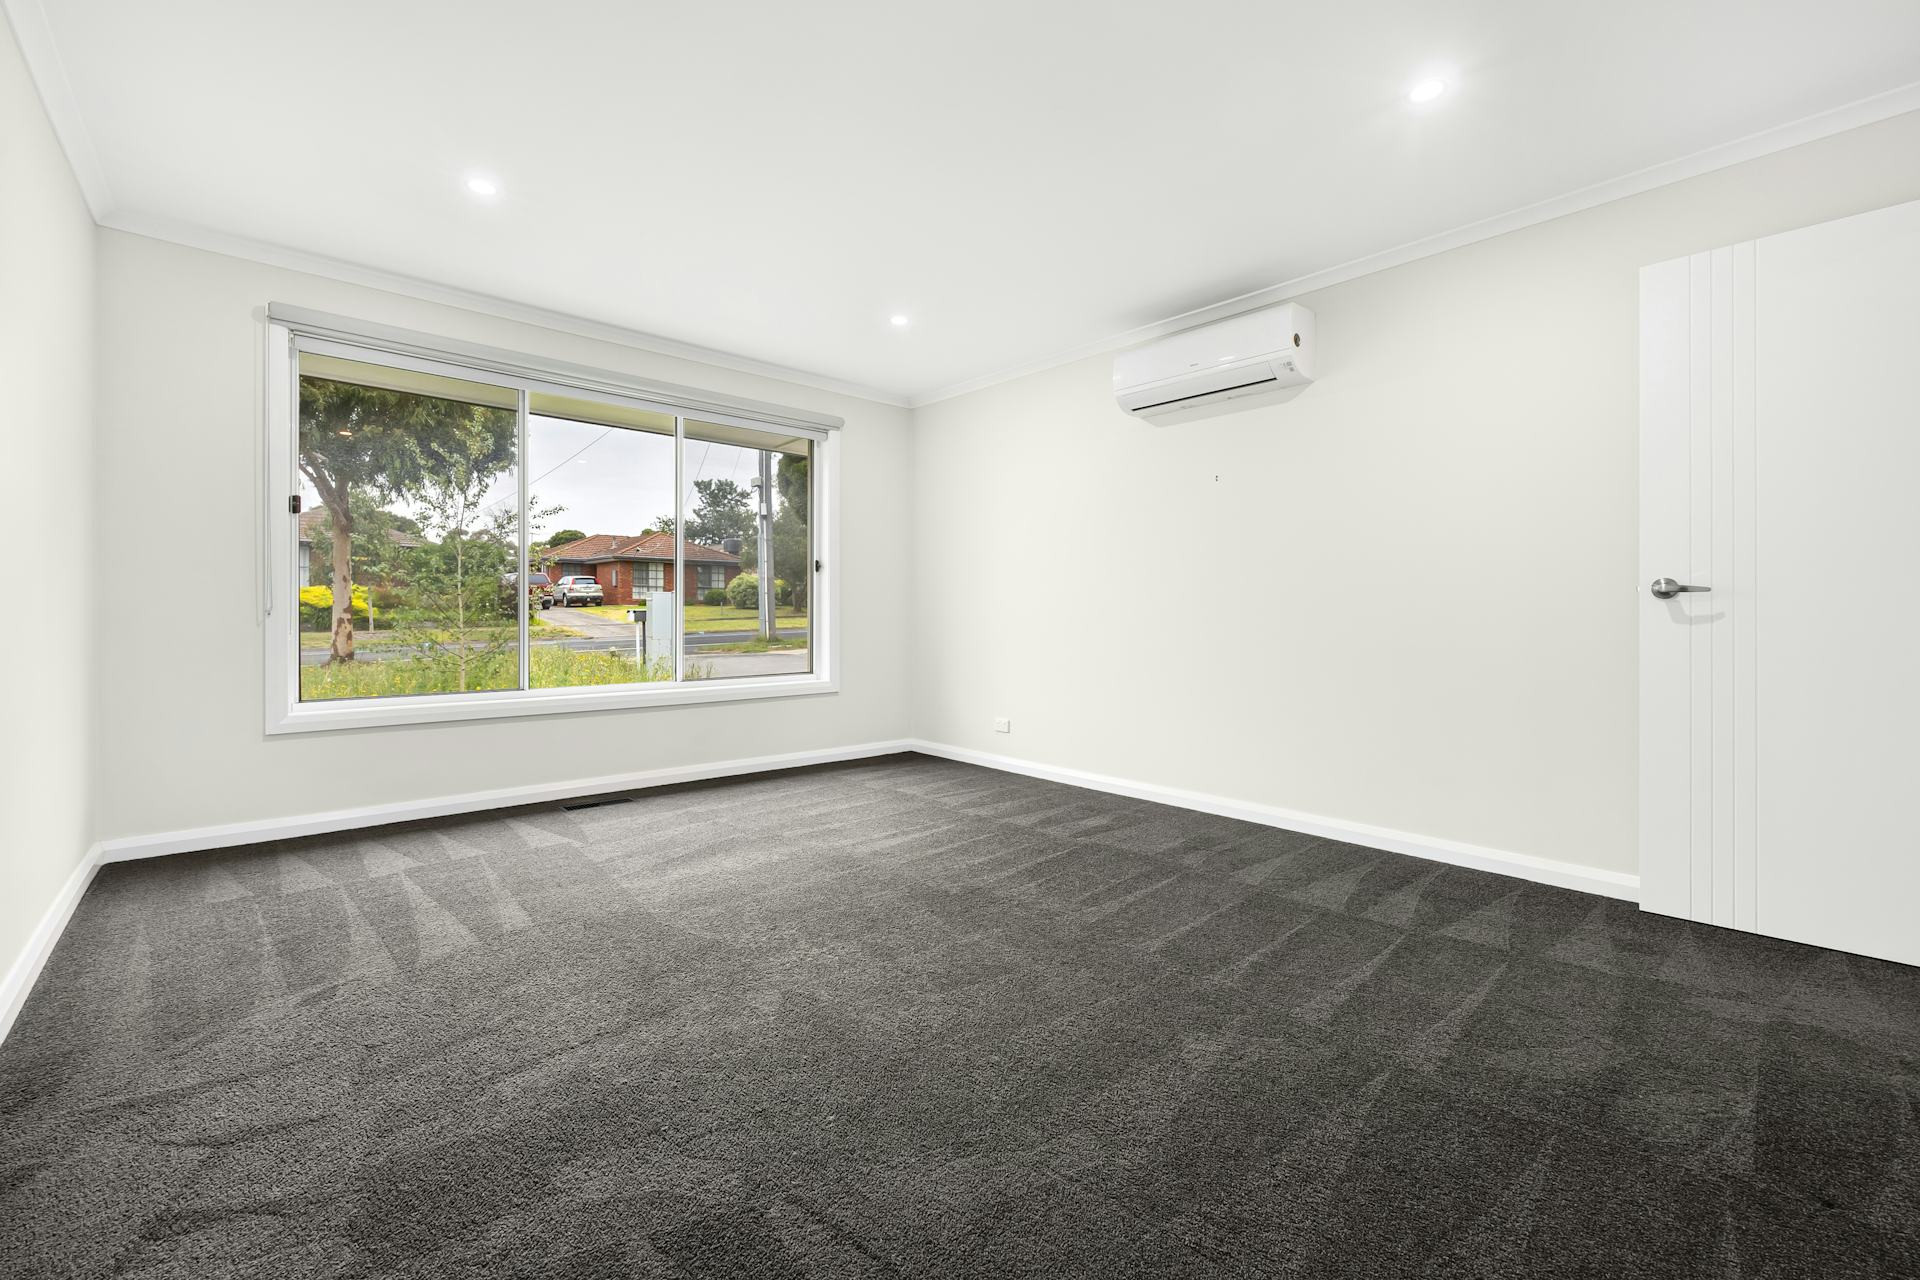
Installing Flooring in Uneven Rooms – How to Achieve a Beautiful Result
Installing new flooring can be a rewarding home improvement project, but when your room isn’t perfectly square or level, it takes a bit of extra planning. Crooked walls, uneven corners, and older homes with irregular angles can make the job more challenging—but far from impossible. With careful preparation, precision, and patience, you can achieve a professional-looking result that lasts for years. Here’s how to approach the task.
Begin with Accurate Measurements
Before you start laying any boards, take time to measure the room carefully. In many older American homes, walls may not be perfectly straight, and one end of the room might be slightly wider than the other. Use a tape measure and a carpenter’s square to check whether corners are truly 90 degrees, and note any deviations.
Sketch the room on paper, marking where walls bow or taper. This will help you plan how to lay the flooring so that the finished result looks straight and balanced, even if the room itself isn’t.
Choose the Right Direction for the Boards
The direction of your flooring boards has a big impact on how the room feels. As a general rule, boards are laid parallel to the longest wall or in the direction of natural light from windows. However, in an uneven room, it’s often best to align the boards with the wall that appears the straightest.
If you lay boards parallel to a wall that curves or bows, the irregularity will become obvious as you move across the room. Instead, adjust your starting line slightly so that any unevenness is distributed evenly on both sides.
Prepare the Subfloor Thoroughly
A beautiful floor starts with a solid, level foundation. Remove any old flooring, nails, or staples, and inspect the subfloor for dips or high spots. Use a long level or straightedge to identify uneven areas. Minor imperfections can be corrected with underlayment or leveling compound, but larger issues should be fixed before you begin.
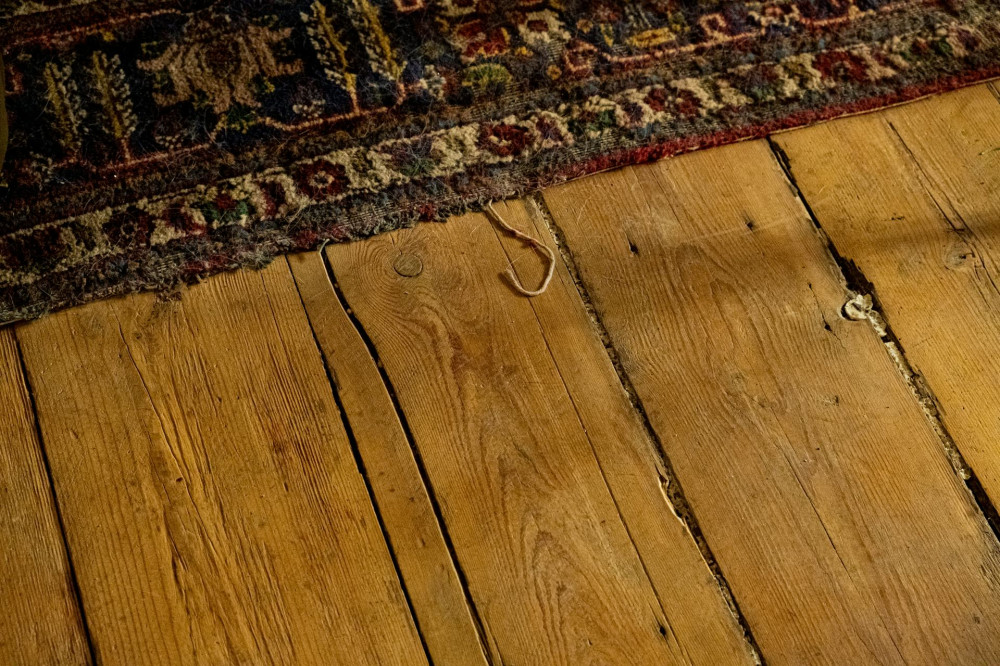
An uneven subfloor can cause squeaks, gaps, or movement over time—especially with floating floors like laminate or luxury vinyl planks. Spending extra time on preparation will pay off in the long run.
Fitting the First Rows
The first few rows set the tone for the entire floor, so take your time. Start with a dry layout—place a few boards without locking them together—to see how they align with the walls. You may need to trim the first row slightly to ensure a clean, even look.
If a wall curves, use a pencil and a spacer block to trace its shape onto the board. Then cut along the line with a jigsaw. This technique ensures a tight, professional-looking fit even against irregular walls.
Leave Expansion Gaps
Wood and laminate flooring expand and contract with changes in temperature and humidity. Always leave an expansion gap of about ⅜ inch (8–10 mm) along all walls. Use spacers as you install the boards to maintain a consistent gap.
It can be tempting to fit boards tightly against uneven walls to hide imperfections, but this can cause buckling later. The gap will be covered by baseboards or quarter-round molding, so you’ll still get a neat finish without restricting the floor’s natural movement.
Finishing Touches and Trim
Once the flooring is installed, it’s time to add baseboards or trim. These not only complete the look but also help conceal small gaps between the floor and the wall. If your walls are wavy, consider flexible molding or use a paintable caulk to smooth the transition.
Remember to attach trim to the wall, not the floor, so the flooring can expand and contract freely.
Læs også:

Tips for a Professional Finish
- Use quality tools – A sharp jigsaw, accurate measuring tools, and a reliable level make all the difference.
- Work in good lighting – Natural daylight helps you spot uneven edges and color variations.
- Check your progress often – Measure and adjust as you go to avoid surprises at the end.
- Take your time – Uneven rooms require patience and attention to detail.
A well-installed floor is about more than just technique—it’s about craftsmanship and care. By planning carefully, measuring precisely, and making thoughtful adjustments, you can create a floor that looks stunning and feels solid underfoot, even in the most uneven rooms.
Læs også: