Building a Garden Wall Yourself? Here’s How to Build a Low One

Building a Garden Wall Yourself? Here’s How to Build a Low One
A low garden wall can do more than just mark a boundary—it can define spaces, create seating, or add a decorative touch to your yard. Whether you want to edge a flower bed, terrace a slope, or frame a patio, a small wall is a great DIY project to take on. It doesn’t require professional masonry skills, just patience, planning, and the right materials. Here’s a step-by-step guide to help you build a sturdy, attractive low wall that will last for years.
Planning and Preparation
Before you start mixing mortar, take time to plan your project. Decide where the wall will go and what purpose it will serve. Is it purely decorative, or will it need to hold back soil? The answer will determine how deep your foundation should be and what materials you’ll need.
Sketch out your wall with measurements, and check local building codes or homeowners’ association rules. In most U.S. areas, a low garden wall under about 3 feet tall doesn’t require a permit, but it’s always smart to confirm before you begin—especially if the wall will sit near a property line.
Choosing the Right Materials
The materials you choose will affect both the look and durability of your wall. Common options include:
- Brick – Classic and easy to work with, available in many colors and finishes.
- Concrete blocks – Strong and ideal for retaining walls or modern designs.
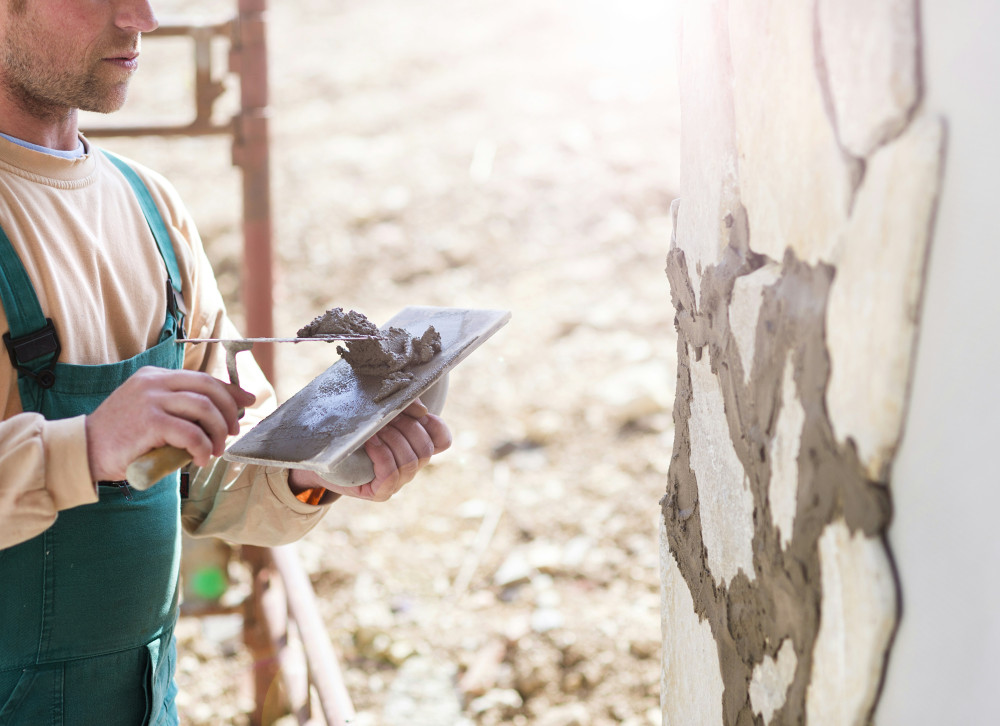
- Natural stone – Offers a rustic, organic look, though it takes more time to fit together.
- Reclaimed materials – Old bricks or stones can add character and sustainability to your project.
You’ll also need mortar suited to your material—typically a Type N or S mortar mix for brick or block walls. For dry-stacked stone walls, you can skip the mortar altogether, but you’ll need to take extra care with leveling and stability.
A Solid Foundation Is Key
Even a low wall needs a stable base to prevent cracking or shifting over time. Start by digging a trench about 12 inches wide and 8–12 inches deep, depending on the wall’s height. Fill the bottom with a few inches of compacted gravel for drainage.
Next, pour a concrete footing about 4–6 inches thick. Use a level to make sure it’s perfectly even, and let it cure for at least 24 hours before you start laying your first course of bricks or stones. For outdoor walls exposed to moisture, it’s a good idea to place a layer of waterproof barrier—like plastic sheeting or roofing felt—between the footing and the first row of masonry to prevent rising damp.
Building the Wall
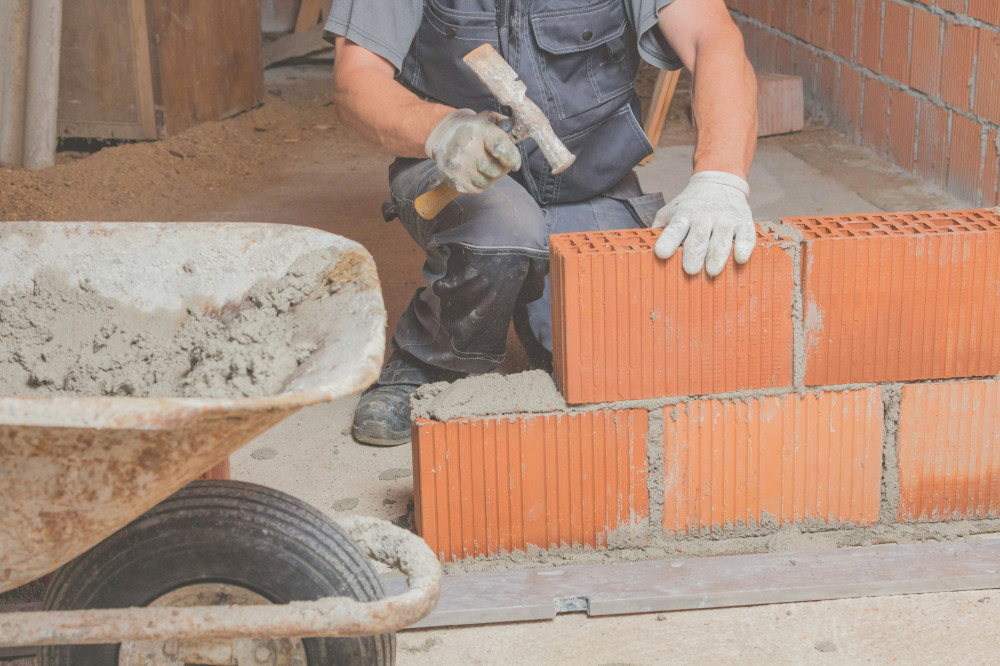
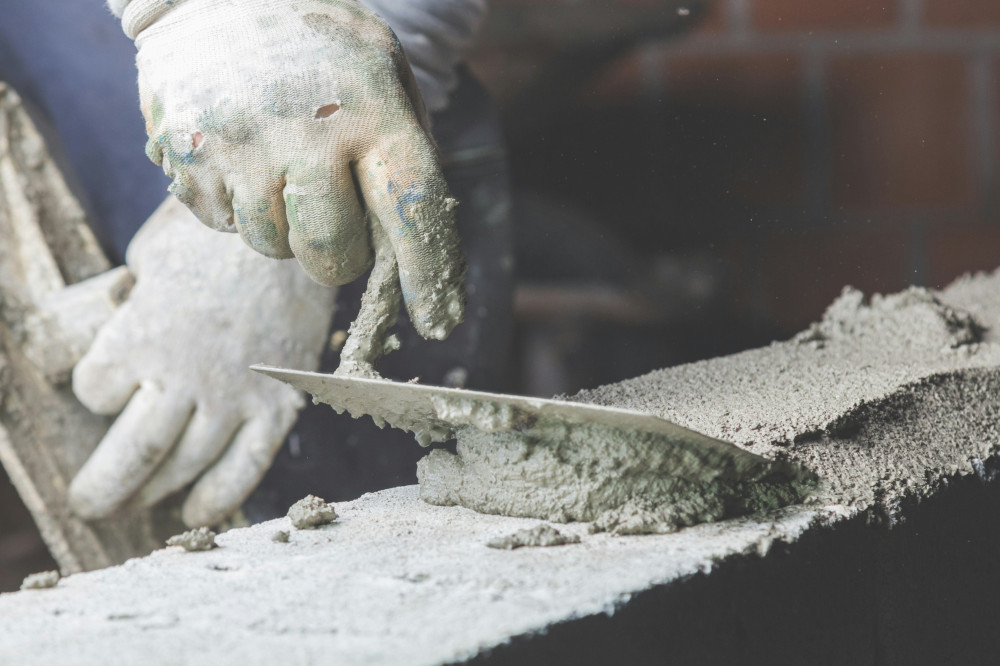
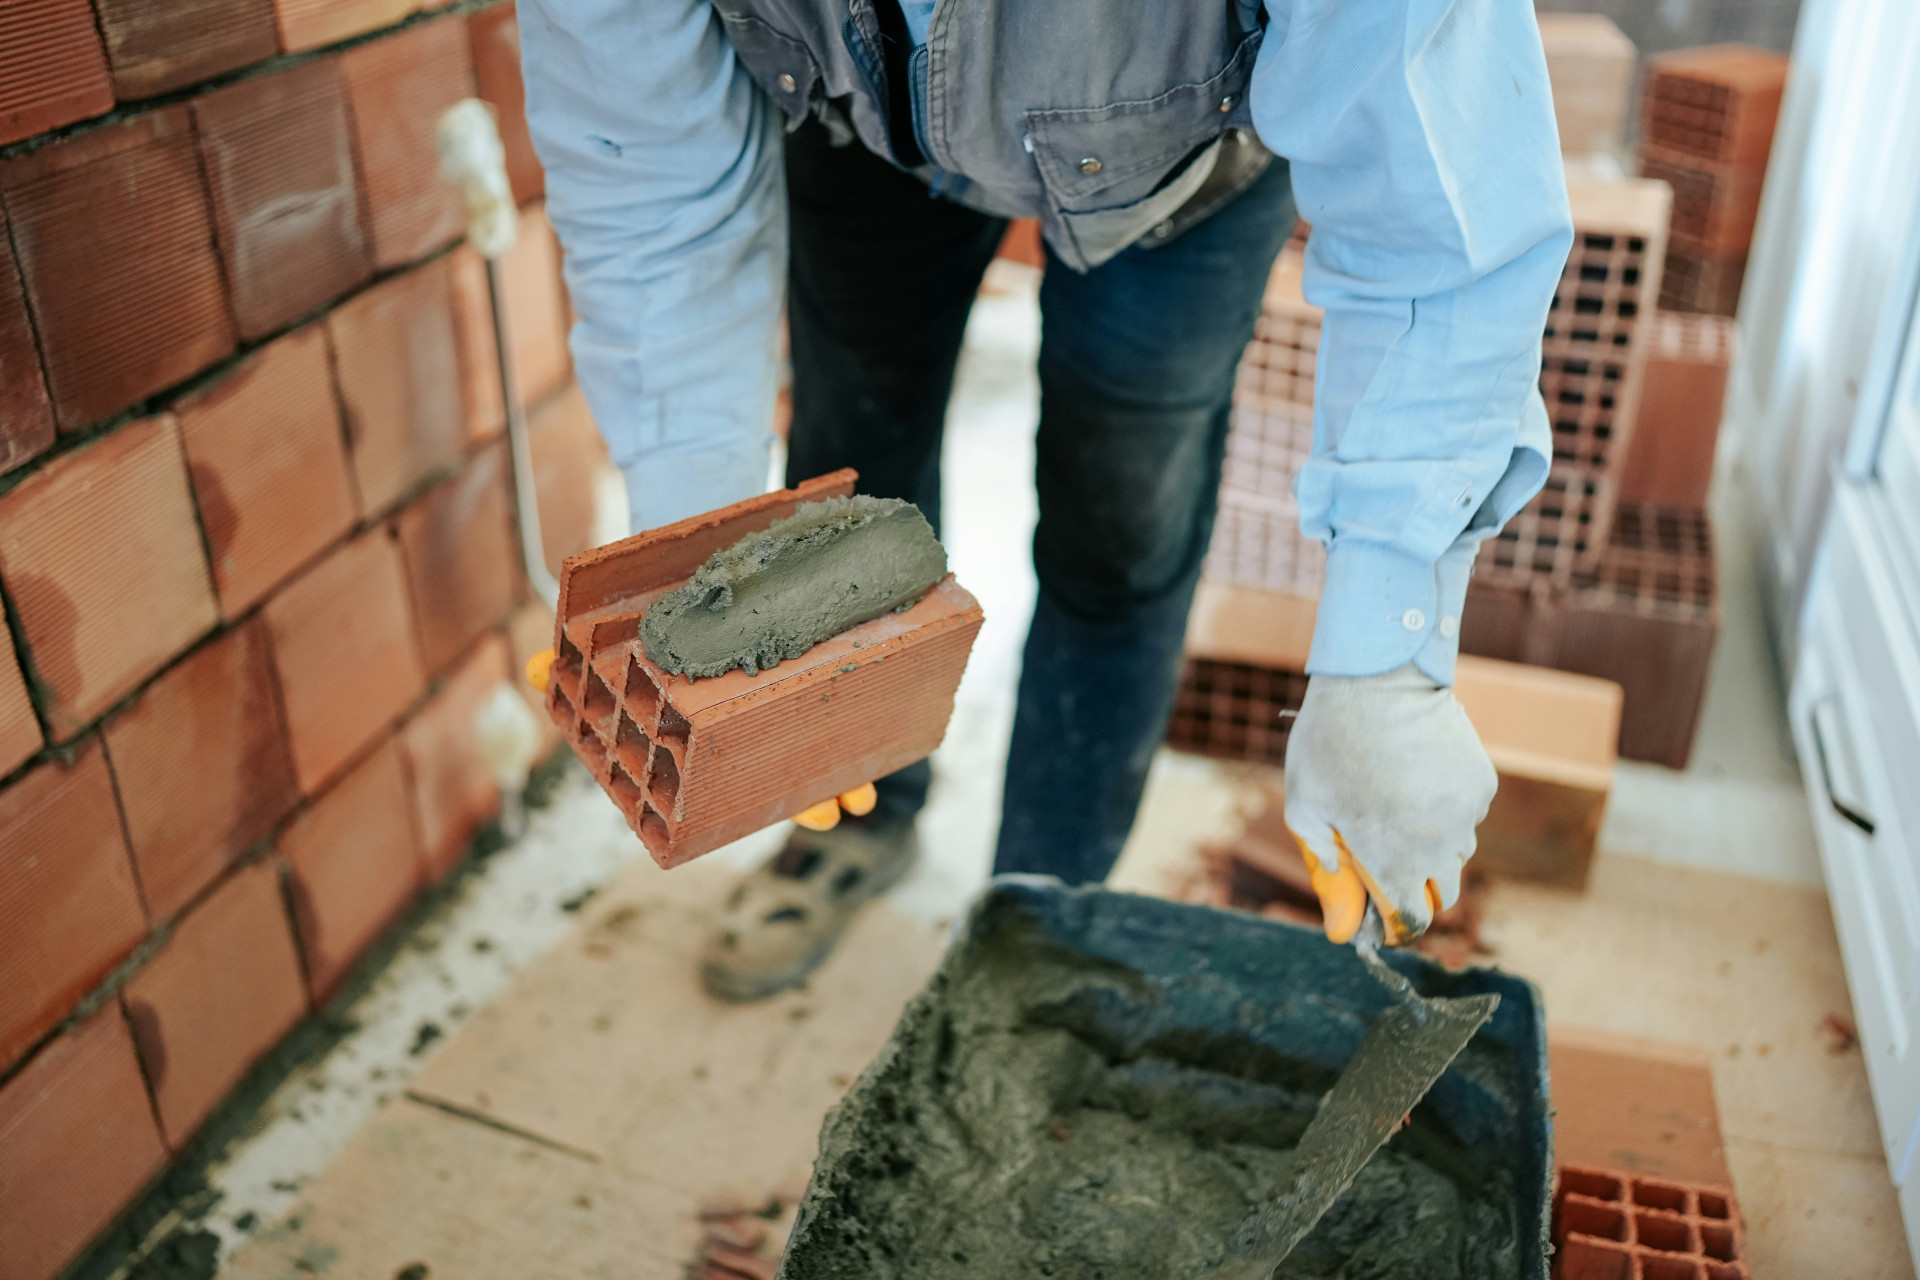
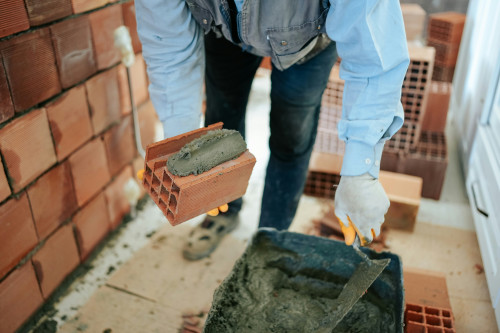
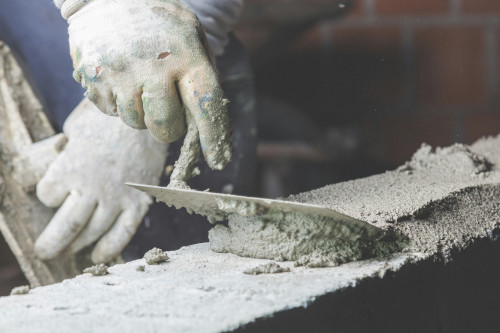
Once your foundation is ready, it’s time to start building. Stretch a mason’s line along the length of the wall to keep it straight. Mix your mortar according to the package directions—it should be firm but workable.
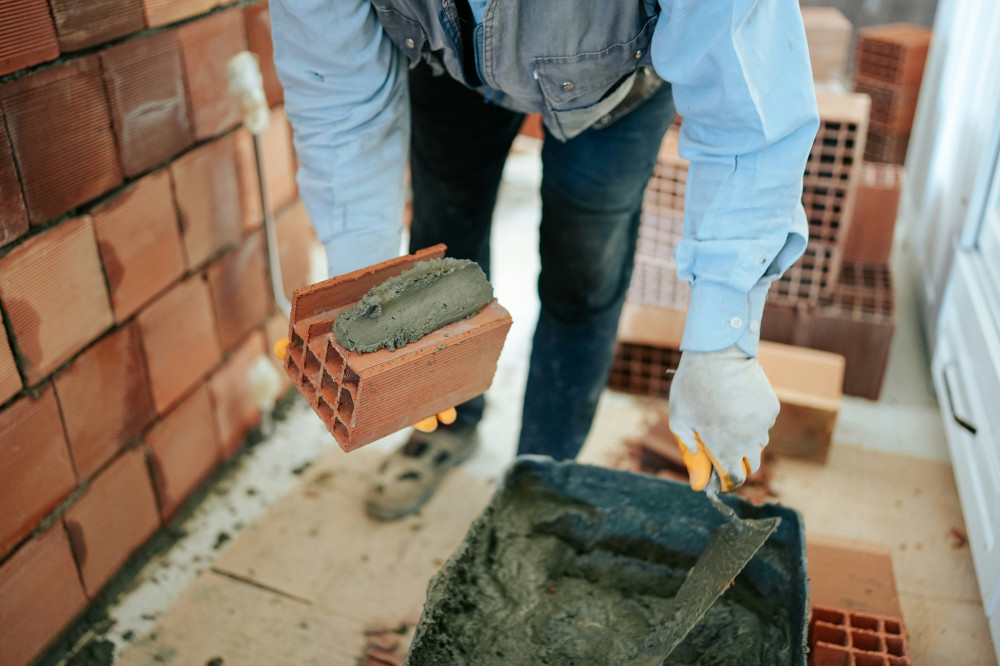
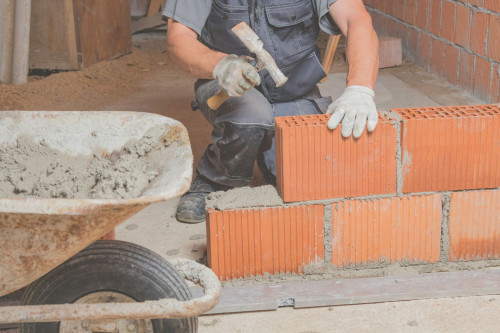
- Spread a layer of mortar on the foundation and set your first row of bricks or stones.
- Check each piece with a level to ensure it’s straight and even.
- Stagger the joints in each new row so they don’t line up directly above one another—this adds strength and visual appeal.
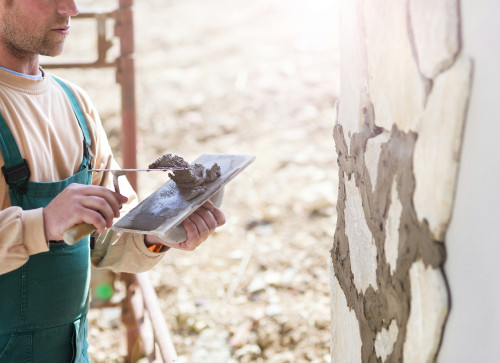
- As you go, scrape off excess mortar and smooth the joints with a jointer or trowel while the mortar is still soft.
Work in small sections so the mortar doesn’t dry out before you place the next stones. If your wall is long, build it in segments and let each part set before continuing.
Læs også:
Finishing Touches and Maintenance
When the wall is complete, finish it with a capstone or flat stones along the top. This not only gives a polished look but also helps protect the wall from rain and frost damage. Make sure the top stones have a slight slope so water can run off.
After a couple of days, once the mortar has cured, brush off any residue with a stiff brush. Avoid using a pressure washer, as it can damage the joints.
A low wall doesn’t need much maintenance, but it’s wise to inspect it each spring for cracks or loose stones. Small repairs with fresh mortar can prevent bigger problems later.
Making the Wall Part of Your Garden
A low wall can be more than just a boundary—it can become a feature. Use it as extra seating around a fire pit or patio, as a border for raised beds, or as a backdrop for plants. For a softer look, plant creeping thyme, sedum, or lavender along the base; they’ll thrive in the warmth of the stone and spill beautifully over the edges.
If you prefer a modern style, you can paint the wall with breathable masonry paint or face it with tile or wood panels. The possibilities are endless, and a well-built wall can tie your entire landscape together.
A Project That Lasts
Building a low garden wall takes some effort, but the reward is a lasting, functional addition to your yard. With a solid foundation, careful craftsmanship, and the right materials, your wall will stand strong for decades—and give your garden structure, charm, and a personal touch.
So grab your trowel, plan your layout, and take your time. A low wall is one of those DIY projects where you can truly see—and enjoy—the results of your own handiwork.
Læs også: