Preserve Historic Masonry – Avoid Mistakes in Repair and Repointing

Preserve Historic Masonry – Avoid Mistakes in Repair and Repointing
Historic brick and stone buildings are more than just structures – they are tangible links to America’s past. Whether it’s a 19th-century rowhouse, a century-old church, or a farmhouse built by hand, these buildings carry craftsmanship and materials that deserve careful preservation. When it comes time to repair or repoint the masonry, using the wrong materials or methods can cause serious damage. Here’s how to protect historic masonry the right way – and avoid the common mistakes that can compromise both appearance and durability.
Understand the Age and Materials of the Masonry
Before beginning any repair or repointing work, it’s essential to understand when the building was constructed and what materials were originally used. Masonry built before the mid-20th century often features softer, hand-pressed bricks or natural stone set in lime-based mortar. These materials are flexible and breathable, allowing moisture to move through the wall and evaporate naturally.
Modern Portland cement mortars, on the other hand, are much harder and less permeable. If used on older masonry, they can trap moisture inside the wall. Over time, this leads to spalling bricks, cracking, and frost damage. The key principle is simple: the mortar should always be softer and more permeable than the masonry units themselves.
Choose the Right Mortar
Selecting the correct mortar mix is one of the most important steps in preserving historic masonry. As a general guideline:
- Lime mortar should be used for buildings constructed before about 1900. It’s soft, flexible, and allows the wall to “breathe.”
- Lime-cement mortar may be appropriate for early- to mid-20th-century buildings, when small amounts of cement were introduced to increase strength.
- Portland cement mortar should be reserved for modern masonry designed for its hardness and low permeability.
If you’re unsure which type of mortar your building originally used, a mortar analysis by a preservation specialist or materials lab can provide a precise match. This small investment can prevent costly repairs later.
Læs også:
Avoid Common Mistakes
Many well-intentioned repairs end up causing more harm than good. Here are some of the most frequent errors to avoid:
- Using mortar that’s too hard – it can cause the bricks or stones to crack or spall.
- Cutting joints too deep or too wide – this changes the wall’s appearance and weakens the structure.
- Failing to clean joints before repointing – dust and debris prevent proper bonding.
- Choosing the wrong color or texture – mismatched mortar can make repairs stand out and diminish the building’s character.
- Applying sealants or waterproof coatings – these trap moisture and accelerate deterioration.
Patience and respect for the original materials are the best tools you can bring to the job.
How to Repoint Properly
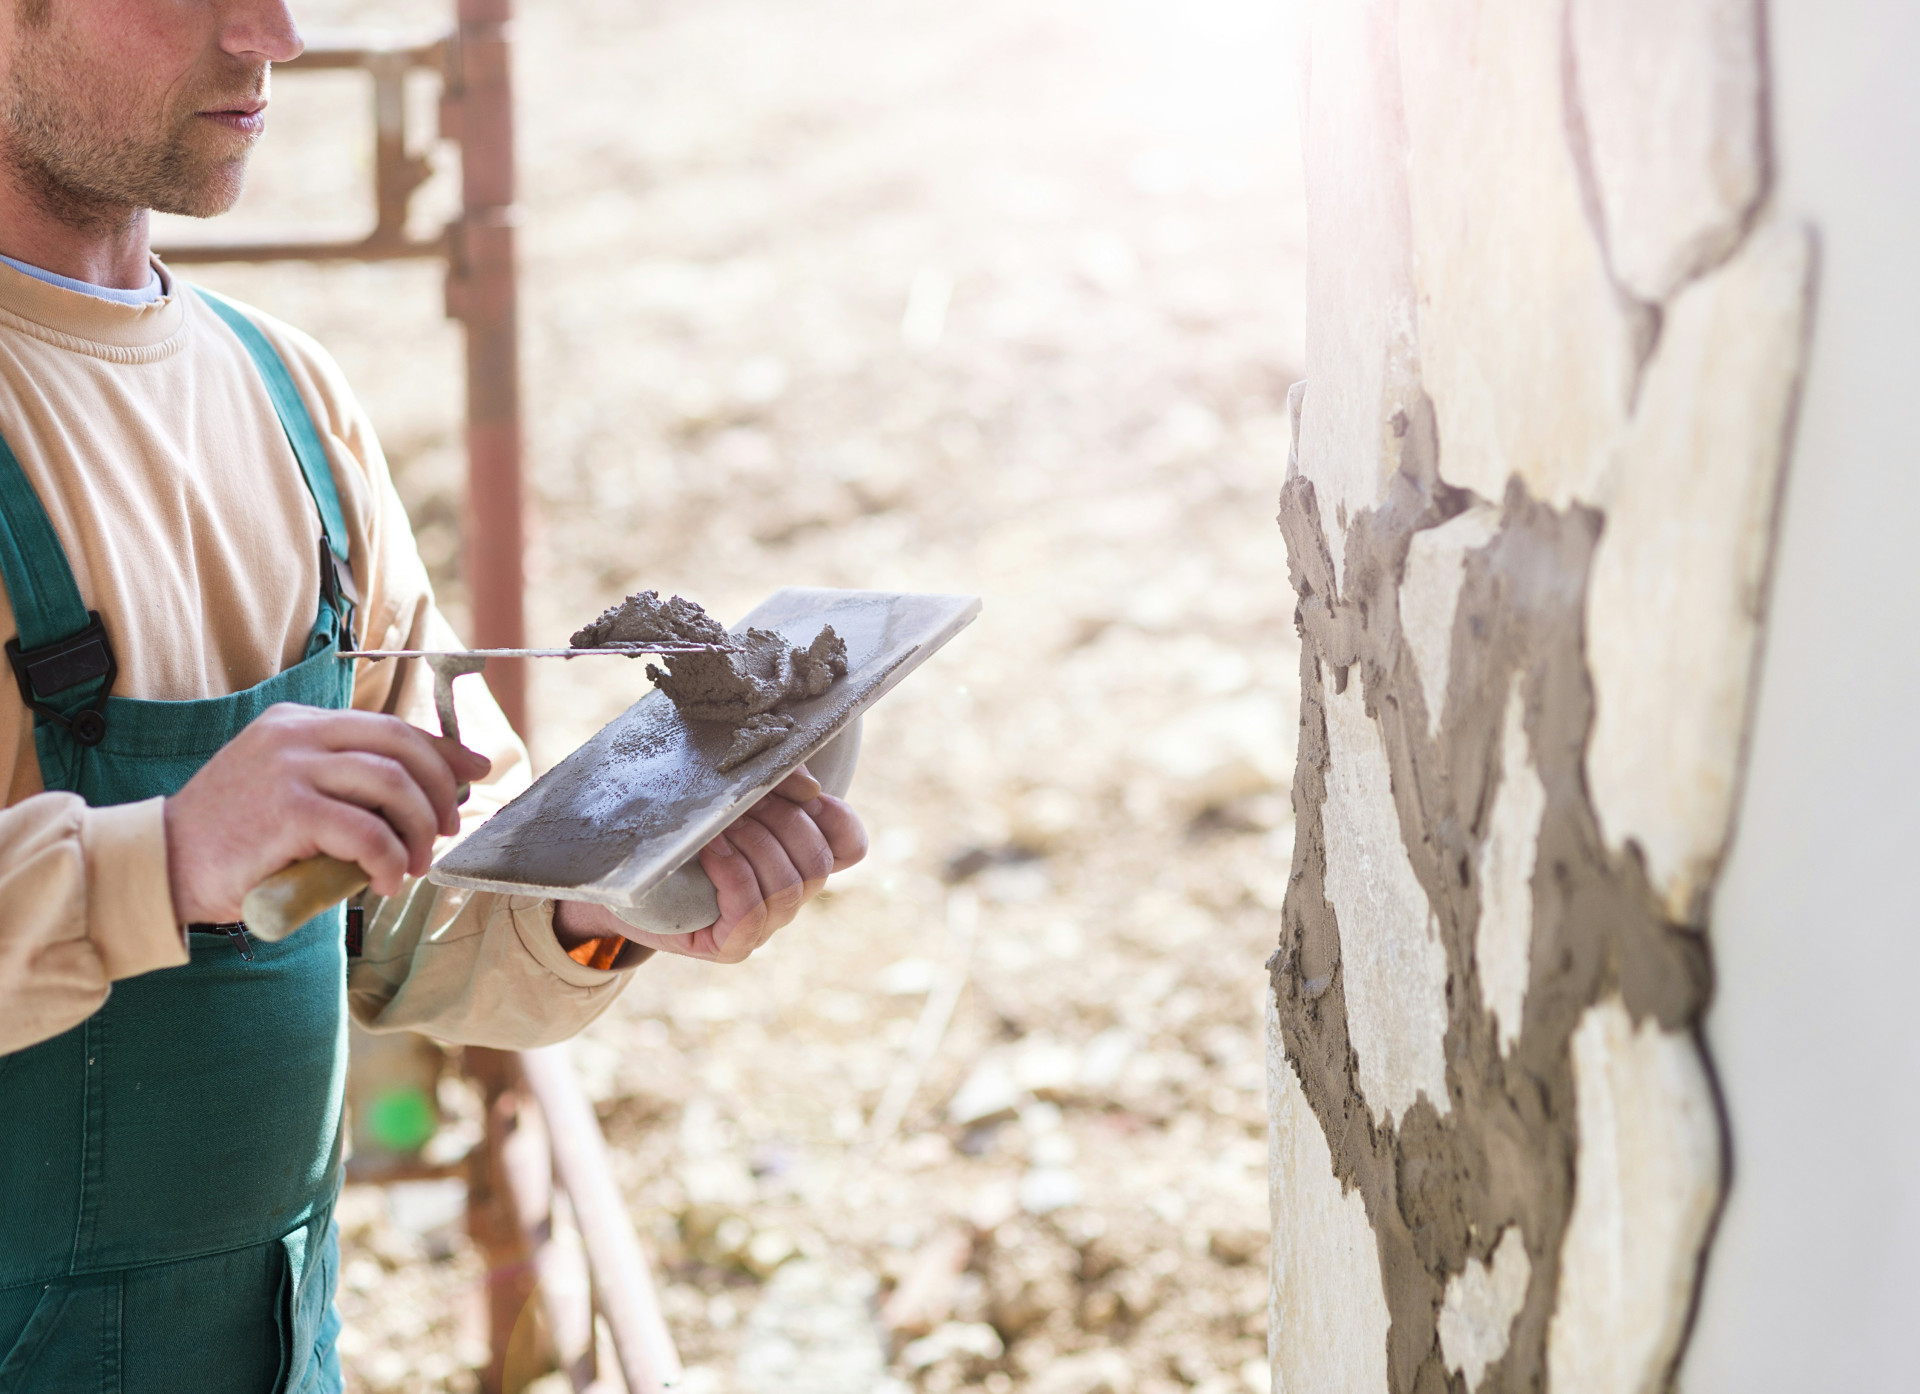
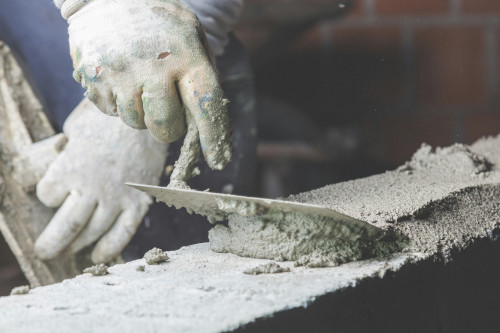
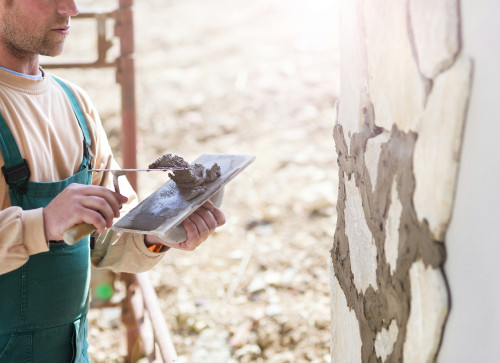
A proper repointing job begins with carefully removing the old mortar to a depth of about ½ to ¾ inch (or until sound mortar is reached). Use hand tools or small grinders with dust collection, taking care not to damage the edges of the bricks or stones.
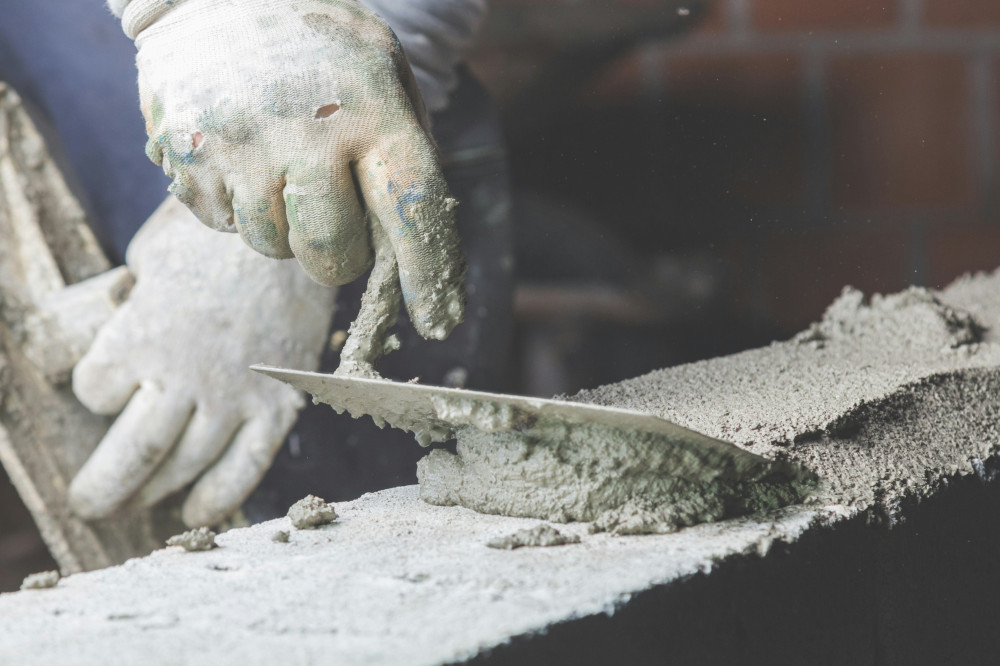
Before applying new mortar, lightly dampen the joints so the wall doesn’t draw moisture too quickly from the fresh mix. Fill the joints in layers, pressing the mortar firmly into place. Once the mortar begins to set, tool the joints to match the original profile and texture. Keep the wall moist for several days to allow the mortar to cure slowly – especially important when using lime-based mixes.
Preserve the Patina – and the Building’s Character
Part of what makes historic masonry beautiful is its natural patina – the subtle color variations and weathering that develop over time. It can be tempting to sandblast or power-wash a façade to make it look “new,” but such aggressive cleaning methods can strip away the protective fired surface of brick or damage stone. This leaves the masonry more vulnerable to moisture and frost.
Instead, choose gentle cleaning methods such as low-pressure water washing or specialized masonry cleaners approved for historic use. In many cases, it’s best to leave the surface as is and focus on repairing only what’s necessary. Authenticity and longevity go hand in hand.
When to Call a Professional
While small touch-ups can sometimes be handled by experienced homeowners, larger or more complex projects should be entrusted to a mason trained in historic preservation. A professional can assess whether bricks or stones need replacement, determine the correct mortar composition, and ensure that the work meets preservation standards.
If your building is listed on a local or national historic register, you may also need to consult with your state historic preservation office or local building department before beginning work. They can provide guidance on appropriate methods and materials.
A Living Piece of History
Preserving historic masonry isn’t just about maintaining a building’s appearance – it’s about honoring the craftsmanship and materials that shaped America’s architectural heritage. Each brick and stone tells a story of its time, its builders, and its community. With the right knowledge and care, you can ensure that your historic building remains strong, beautiful, and full of character for generations to come.
Læs også: